Bulk Substrate Recipes
11 tips in Substrate Preparation
By Andrew Langevin · Founder, Nature Lion Inc · Contributing author, Mushroomology (Brill, 2026)
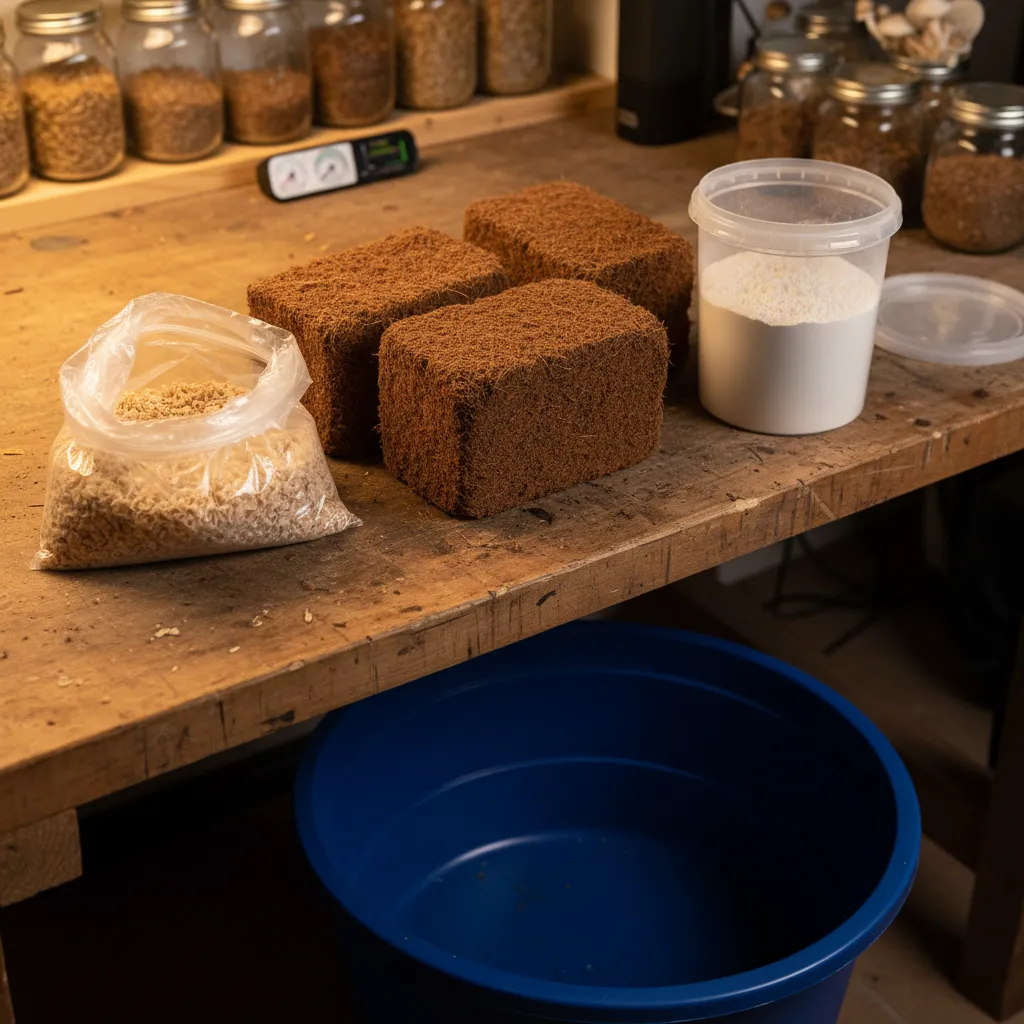
CVG (coco coir, vermiculite, gypsum) is the most popular bulk substrate for beginners. The standard recipe:
- Coco coir: 650 g compressed brick
- Vermiculite: 2 L (coarse grade)
- Gypsum: 1 tablespoon (about 15 g)
- Boiling water: 3.5-4 L
Break the coir brick into a 5-gallon bucket. Add vermiculite and gypsum on top. Pour 3.5 L of boiling water over the mixture, stir briefly, and seal the bucket with a tight lid. The boiling water simultaneously hydrates the coir and pasteurizes the entire mix.
Wait 4-8 hours (or overnight) for the mixture to cool to room temperature and fully absorb the water. Open the bucket, mix thoroughly, and check field capacity with the squeeze test — 2-3 drops when squeezed hard. If too dry, add 250 ml more hot water and reseal for 30 minutes.
This recipe yields approximately 8-10 L of prepared substrate, enough for one large monotub (54-66 quart). CVG is naturally contamination-resistant and requires no pressure cooker.
Masters Mix is a 50/50 blend by dry weight of hardwood fuel pellets (HWFP) and soy hull pellets. It is the highest-yielding commercial substrate for many gourmet species including lion's mane, king oyster, pioppino, and chestnut mushrooms.
Recipe for one 2.2 kg grow bag:
- Hardwood fuel pellets: 500 g
- Soy hull pellets: 500 g
- Water: 1.4-1.6 L
Mix the dry pellets together in a large bowl. Add water gradually and mix thoroughly. The pellets will absorb water and break apart within 10-15 minutes. Target field capacity (squeeze test: 2-3 drops). Load into autoclavable grow bags with a filter patch.
Sterilize at 15 PSI for 150 minutes — this is critical because the soy hulls are extremely high in nitrogen and will contaminate within 48 hours if not fully sterilized. Let bags cool for 12-24 hours in front of a flow hood or in a still air box before inoculating.
Masters Mix is not for beginners — it requires perfect sterilization and clean inoculation technique. The reward is yields of 100-150% biological efficiency on many gourmet species.
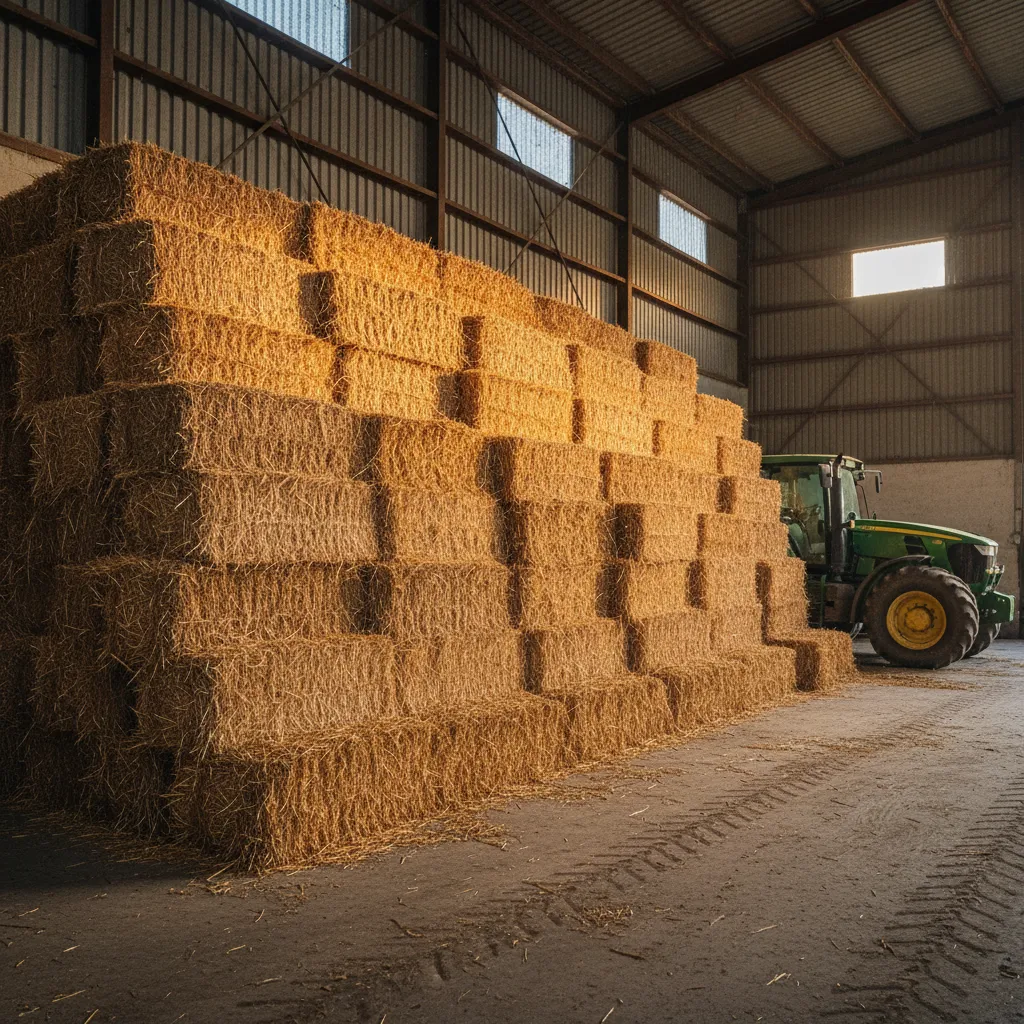
Straw is an excellent low-cost substrate for oyster mushrooms. Use clean wheat, oat, or barley straw — avoid hay (which contains seeds and excess nitrogen). Chop or shred the straw into 5-10 cm pieces using a leaf shredder, machete, or running a lawn mower over it in a garbage bag. Chopping dramatically improves colonization speed and substrate density.
For pasteurization, the most common method is hot water bath: fill a large pot, barrel, or cooler with water heated to 71-82C (160-180F). Submerge the chopped straw using a weighted mesh bag or basket and maintain temperature for 60-90 minutes. Drain the straw and let it cool to room temperature on a clean surface. Squeeze-test for field capacity.
An alternative is cold water lime bath: soak chopped straw for 18-24 hours in water with hydrated lime (calcium hydroxide) at a rate of 10 g per liter, which raises pH high enough to kill most contaminants.
For a standard grow bag, use approximately 1-2 kg of dry straw, which hydrates to roughly 3-5 kg.
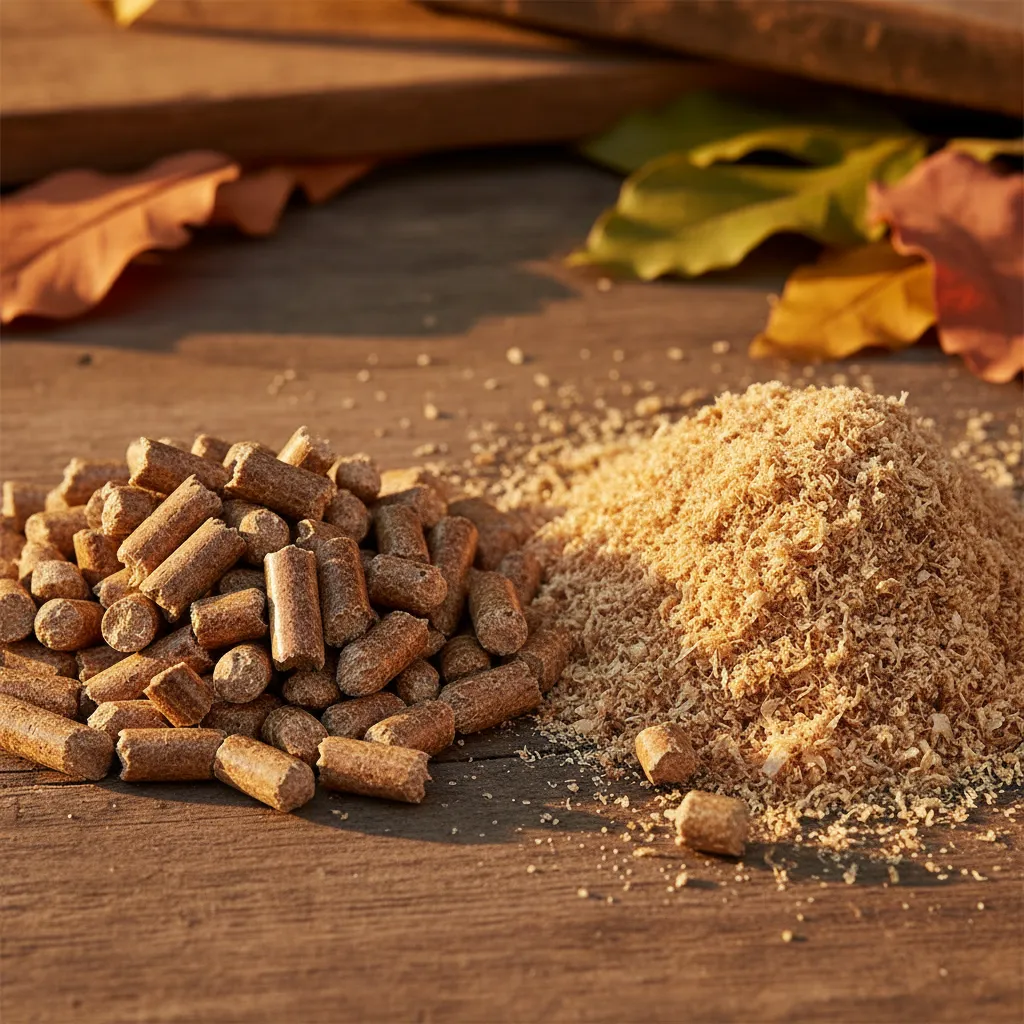
Hardwood fuel pellets (HWFP) are compressed hardwood sawdust sold as heating fuel, available at hardware stores for about $5-8 per 18 kg bag. They are one of the most economical and consistent substrates available. Only use pellets labeled 100% hardwood with no accelerants, binders, or softwood.
To prepare:
- Weigh out your desired amount of pellets (typically 500 g-2 kg per bag)
- Add water at a ratio of approximately 1.2-1.4 L per 1 kg of dry pellets
- Pour the water over the pellets and wait 20-30 minutes — they'll absorb water and crumble into sawdust
- Break up any remaining chunks by hand and check field capacity
HWFP alone are very low in nitrogen (C:N ratio of roughly 400:1), so most growers supplement them. Without supplementation, only aggressive species like oyster mushrooms will fruit well on plain HWFP. Adding 10-20% soy hull pellets or 5-10% wheat bran by dry weight boosts yields significantly but requires sterilization at 15 PSI for 150 minutes. Unsupplemented HWFP can be pasteurized instead.
Yes, but with important caveats. Fresh spent coffee grounds have already been partially sterilized by the brewing process and are high in nitrogen (C:N ratio around 20:1). This high nitrogen makes them extremely contamination-prone. Use coffee grounds within 24 hours of brewing — older grounds grow mold rapidly.
Never use coffee grounds as your sole substrate — mix them at no more than 20-25% by volume with a base substrate. A workable recipe:
- Fresh coffee grounds: 200 g
- Pasteurized straw or coco coir: 800 g
- Grain spawn: generous portion (use a 1:3 or 1:4 spawn-to-substrate ratio instead of the usual 1:5)
The extra spawn helps the mycelium colonize before contaminants take hold. Oyster mushrooms are the best species for coffee ground mixes — they colonize aggressively and tolerate the high nitrogen. Don't attempt coffee grounds with slower-colonizing species like shiitake or lion's mane. Even with oyster mushrooms, expect a higher contamination rate than with traditional substrates.
Manure-based substrates are primarily used for species that naturally grow on dung, particularly Agaricus (button/portobello) and some tropical species. The most common recipe adds composted horse manure or cow manure to a CVG base.
Standard recipe:
- Composted manure: 4 L
- Coco coir: 300 g
- Vermiculite: 1 L
- Gypsum: 1 tablespoon
- Boiling water: 2-3 L
Only use well-aged, composted manure — never fresh manure, which is far too high in nitrogen and ammonia. The manure should be dark brown to black, crumbly, and smell earthy (not like ammonia).
Mix all dry ingredients in a bucket, add boiling water, seal, and allow to pasteurize for 4-8 hours. Check field capacity after cooling. Manure-based substrates are more nutritious than plain CVG, which increases both yield potential and contamination risk. Maintain impeccable cleanliness during spawning. Many growers who add manure also add an extra tablespoon of gypsum (total 2 tablespoons) to improve structure and buffer pH.
The PF Tek substrate consists of brown rice flour (BRF), vermiculite, and water mixed to create a nutritious cake. The standard recipe per half-pint (240 ml) jar:
- Vermiculite (coarse grade): 80 g
- Brown rice flour: 30 g
- Water: 60 ml
Mix vermiculite and water first until evenly damp, then add the BRF and mix until uniform — no dry pockets. Fill jars loosely (don't pack) to 1 cm below the rim. Wipe the jar rim clean with alcohol, then add a dry vermiculite layer to fill the remaining space — this dry layer acts as a contamination barrier. Cover with a foil cap.
Sterilize at 15 PSI for 60 minutes (shorter than grain because the jars are small and the substrate is loose). Let cool 12-24 hours. Inoculate through four holes in the lid (drilled before sterilization), injecting 0.5-1 ml of spore solution per hole.
This recipe makes approximately 12 half-pint jars per standard bag of BRF and vermiculite. It's one of the most beginner-friendly methods because the small jar size limits contamination losses.
Coco coir comes as a compressed brick that expands dramatically when hydrated. A standard 650 g brick expands to approximately 8-9 L of substrate.
Hydration steps:
- Place the brick in a clean 5-gallon (19 L) bucket — it will expand to fill most of the bucket
- Boil 3.5-4 L of water and pour it over the brick
- Seal the bucket with a tight-fitting lid to trap the heat
- Wait a minimum of 4 hours, ideally overnight (8-12 hours), for full hydration and thorough pasteurization
After cooling, open the bucket and break apart any remaining chunks by hand. Mix thoroughly — the bottom tends to be wetter than the top. Perform the squeeze test on samples from multiple spots in the bucket. If too wet, leave the lid off for an hour to evaporate excess moisture. If too dry, add 250 ml of boiling water, reseal, and wait 30 minutes.
Use coir from pet supply stores (reptile bedding) or garden centers. Avoid coir treated with trichoderma (sometimes sold for gardening) — it will destroy your mushroom mycelium.
Gypsum (calcium sulfate dihydrate, CaSO4-2H2O) is a mineral powder added to mushroom substrate at a rate of 1-5% by dry weight. It serves several important functions:
- Prevents clumping by acting as a dispersal agent, improving gas exchange throughout the substrate
- Provides calcium and sulfur — two micronutrients that mycelium uses for cell wall construction and enzyme production
- Buffers pH mildly, helping keep substrate in the slightly acidic range that mushrooms prefer
Gypsum does not significantly increase nitrogen content, so it does not increase contamination risk and is safe to add to pasteurized substrates. Use food-grade or agricultural-grade gypsum, available at homebrew supply stores or garden centers for about $5-10 per kg.
The typical dose is 1 tablespoon (15 g) per 650 g coir brick in CVG, or 2-5% of dry substrate weight for supplemented recipes. Some growers skip gypsum with no obvious problems, but controlled studies show a measurable yield improvement of 5-15% when it's included.
Vermiculite is a naturally occurring mineral that has been superheated to expand into lightweight, spongy flakes. In mushroom cultivation, it serves as a moisture reservoir and structural amendment.
Key benefits of vermiculite:
- Absorbs and holds water — up to 3-4 times its weight — then slowly releases it as surrounding material dries
- Creates air pockets that improve gas exchange, preventing anaerobic zones where bacteria thrive
- Provides no nutritional value for mushrooms — it is an inert mineral
In CVG, use coarse-grade vermiculite (size #3 or #4) at approximately 2 L per 650 g coir brick. In PF Tek, vermiculite makes up the majority of the substrate volume, with BRF providing the nutrition and vermiculite providing structure and moisture retention.
Use horticultural or construction-grade vermiculite, available at garden centers for about $5-15 per bag. Avoid any vermiculite labeled as containing asbestos (very rare in modern products but worth checking).
The standard spawn-to-substrate ratio is 1:2 to 1:5 by volume (or 10-20% spawn by weight). A higher spawn rate (1:2) colonizes faster and resists contamination better, but costs more because you're using more grain. A lower spawn rate (1:5) is more economical but colonizes slower, giving contaminants more time to compete.
Recommended ratios by method:
- Monotub with CVG: 1:2 to 1:3 (roughly 900 g of colonized grain spawn per 650 g coir brick of prepared CVG)
- Straw buckets: 1:4 to 1:5
- Supplemented sawdust blocks: 1:5 to 1:10 (commercial operations go even lower)
For beginners, use a 1:2 or 1:3 ratio — the faster colonization is worth the extra spawn cost while you're learning. For experienced growers with clean technique, a 1:4 or 1:5 ratio is more economical and works fine.
Never go below 1:10 for any method — colonization becomes too slow and contamination risk spikes. If your grows keep contaminating, try increasing your spawn rate before troubleshooting other factors.
Need more help? Dr. Myco can answer follow-up questions about bulk substrate recipes based on thousands of real growing experiences.
Ask Dr. Myco